
Book 1: Our first Program
| Previous | Next |
You already installed Xcode in the previous step, so let’s jump right in and start it up: Click the LaunchPad-icon in your dock, and there, click the Xcode icon. You will now get a Welcome to Xcode window.
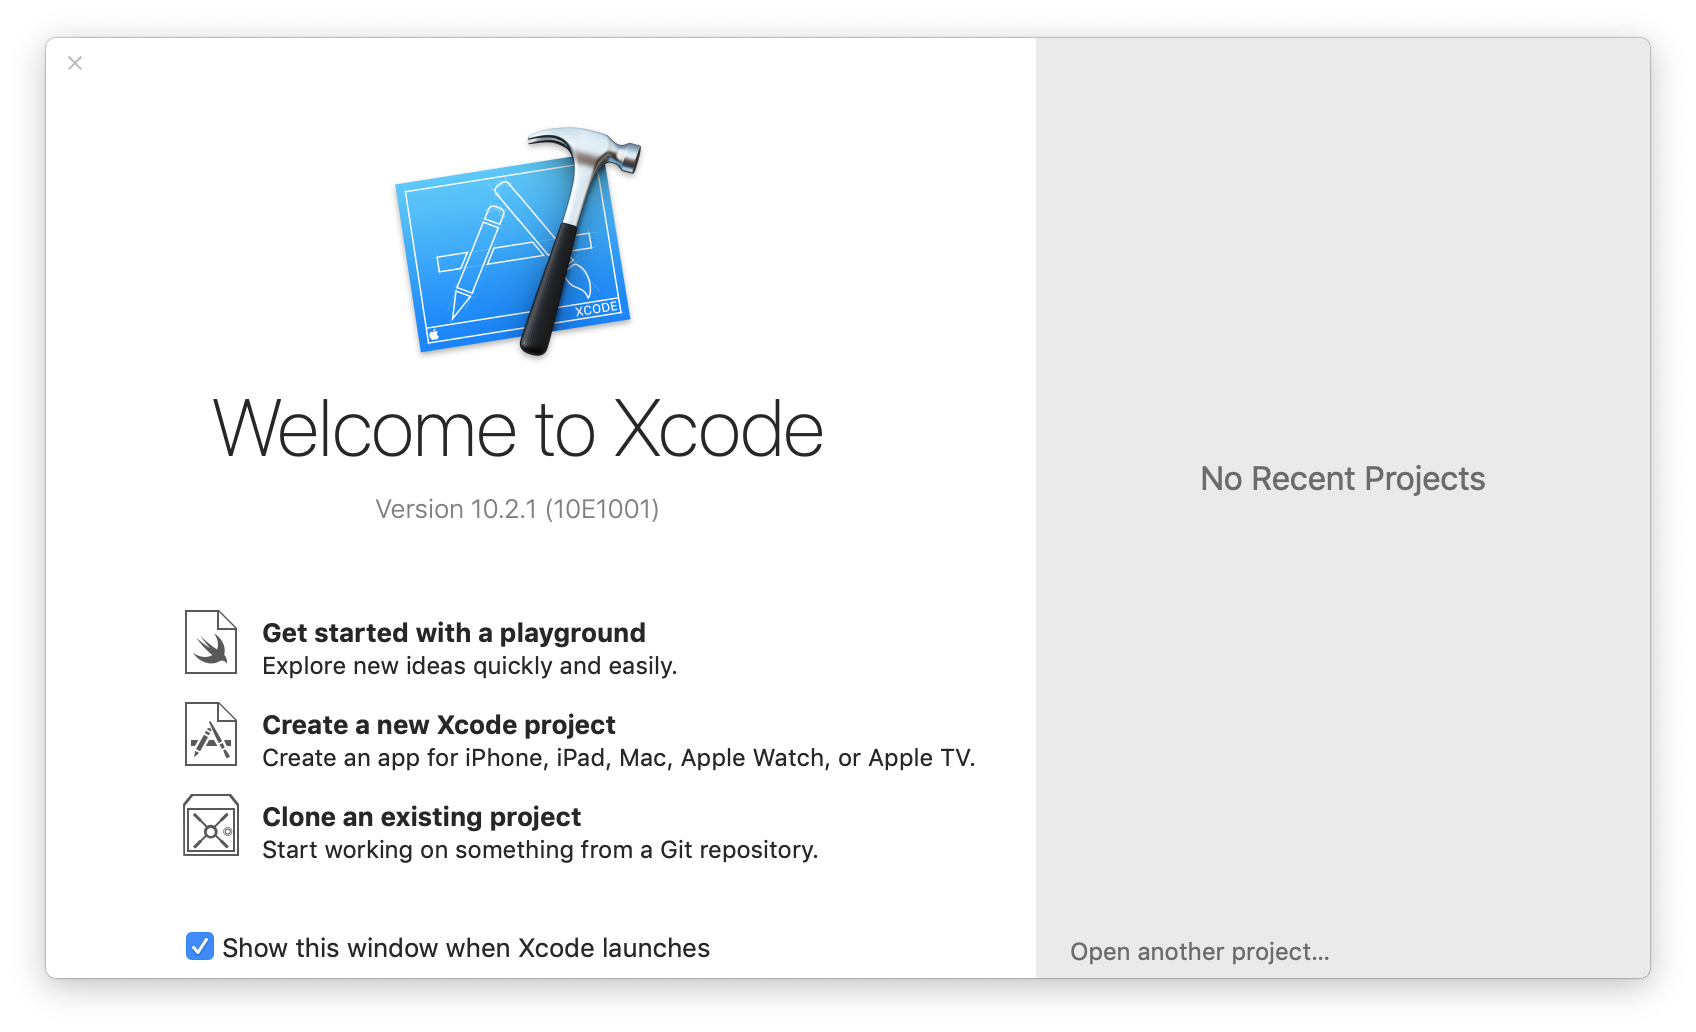
You can either click the Create a new Xcode Project entry there, or if you’ve already had Xcode open and this window isn’t there, choose New Project from the New submenu of the File menu.
A project is an Xcode document, and essentially a list of files that make up one program. There are different kinds of projects depending on what the final result should be. For example, you can use Xcode to create application programs, but also to create screen savers or plugins. Each kind of program needs to be assembled from different kinds of files, in a slightly different way, and an Xcode project contains the information what to compile how. Due to the sheer number of settings involved, Xcode provides pre-made project templates that are already correctly set up for common programs.
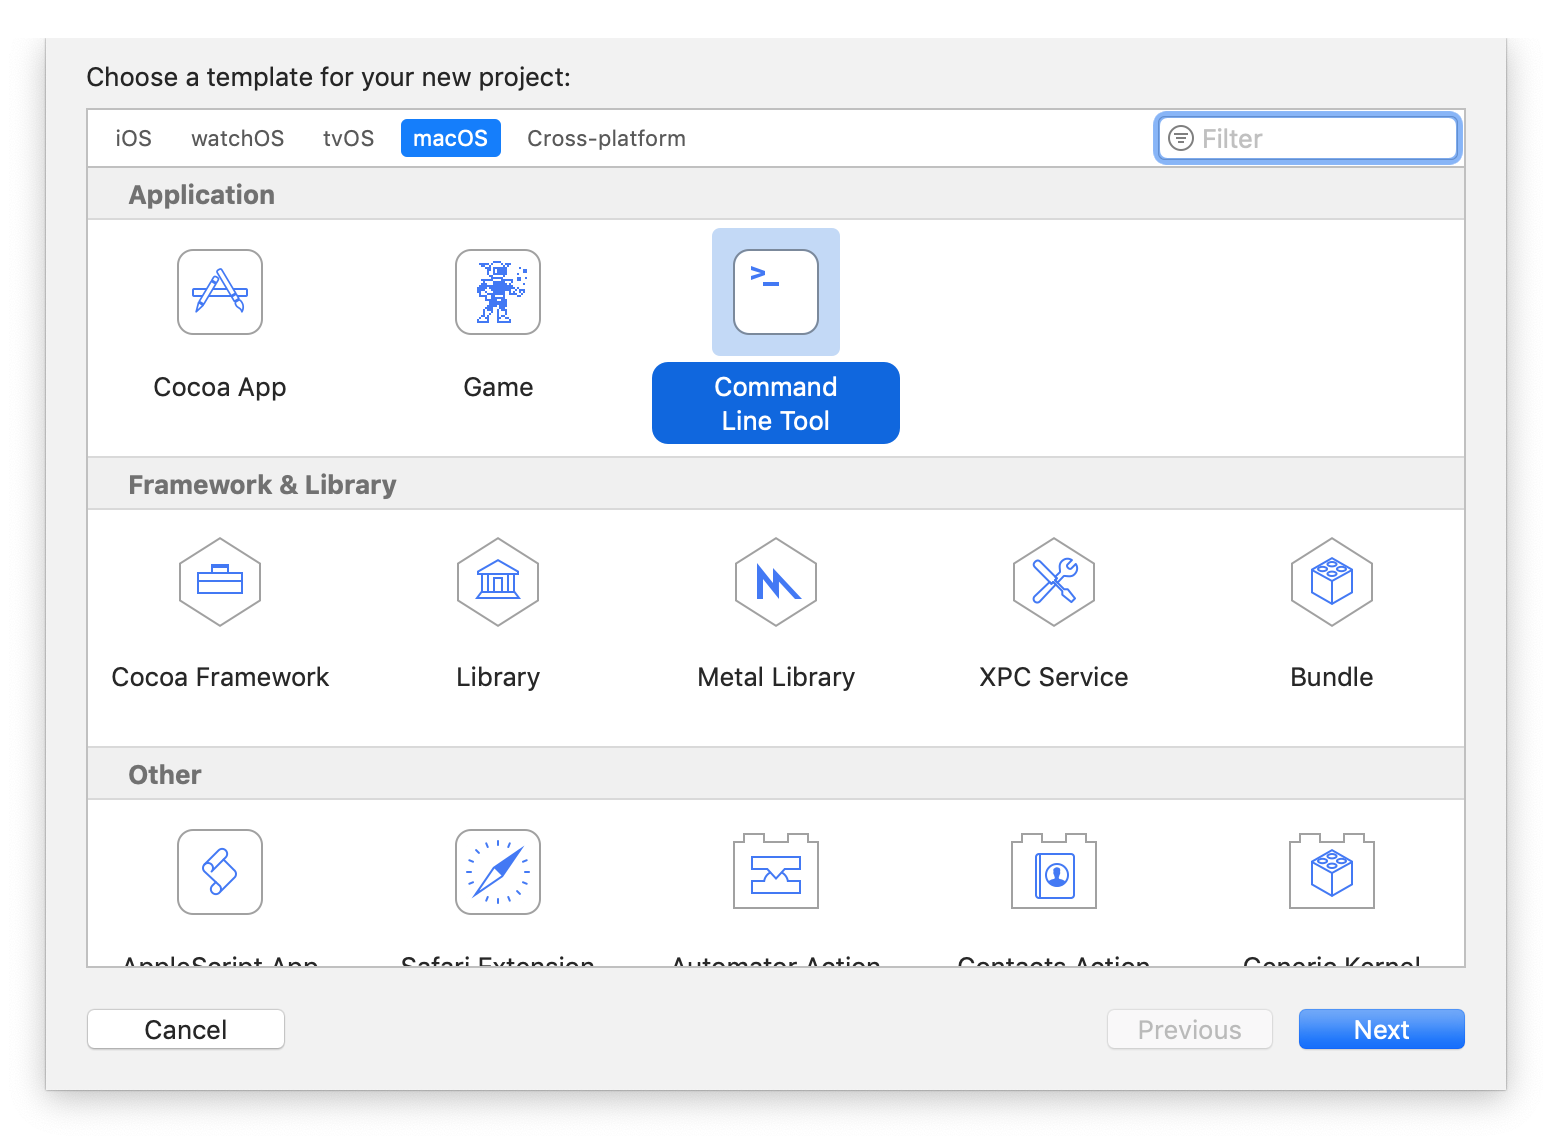
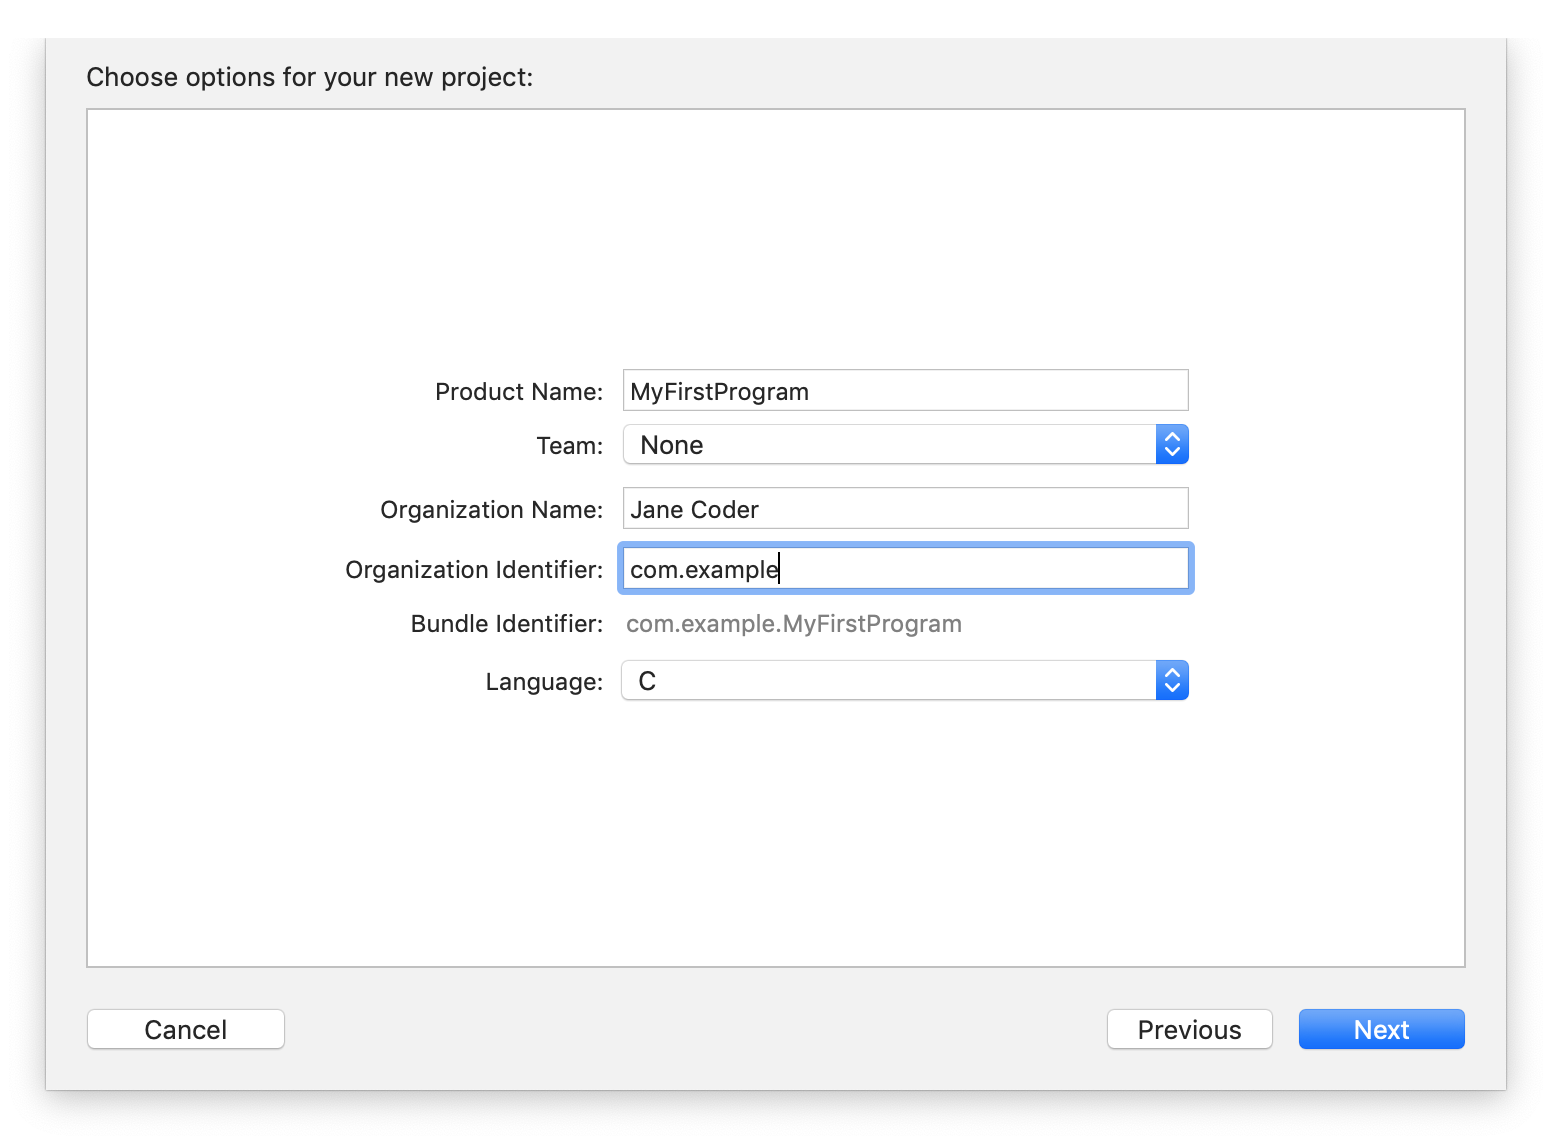
To get you started easily, we will start with a simple program that can be run using Terminal.app’s command line. So, look for the Application section in the macOS tab of the window, and there click the Command Line Tool template, which will give you a very simple C program. Click Next. Make sure that the Type-popup is set to C. Type in MyFirstProgram as the name for the project.
It will also ask for a company identifier, which is what a Mac uses to tell apart various programs. If you have your own web server, use its domain name in reverse. Otherwise, we’ll just use com.example for now.
Turn off Use Automatic Reference Counting for now, if that option is there. It is not needed for C.
Then click Next again.
You will now be asked where you want to save your project. Choose the desktop for now. Your project will be put into its own folder on the desktop. (Leave the Create local git repository for this project checkbox off for now — git is cool, and you’ll want to use it if you want to program for a living, but we’ll not go into it in this tutorial)
Every couple Xcode releases, a helpful Apple programmer re-arranges the categorization in the New Project window. If your New Project window doesn’t look like the screen shot above, try looking through all sections for a template named something like Standard Command Line Tool or C Tool or something like that.
You will now get a window with a list called Project Navigator on the left, and to its right more detailed information about whatever is selected on the left. If you now click on the entry main.c in the list, you will see a text editor. This is where you will edit text using Xcode.
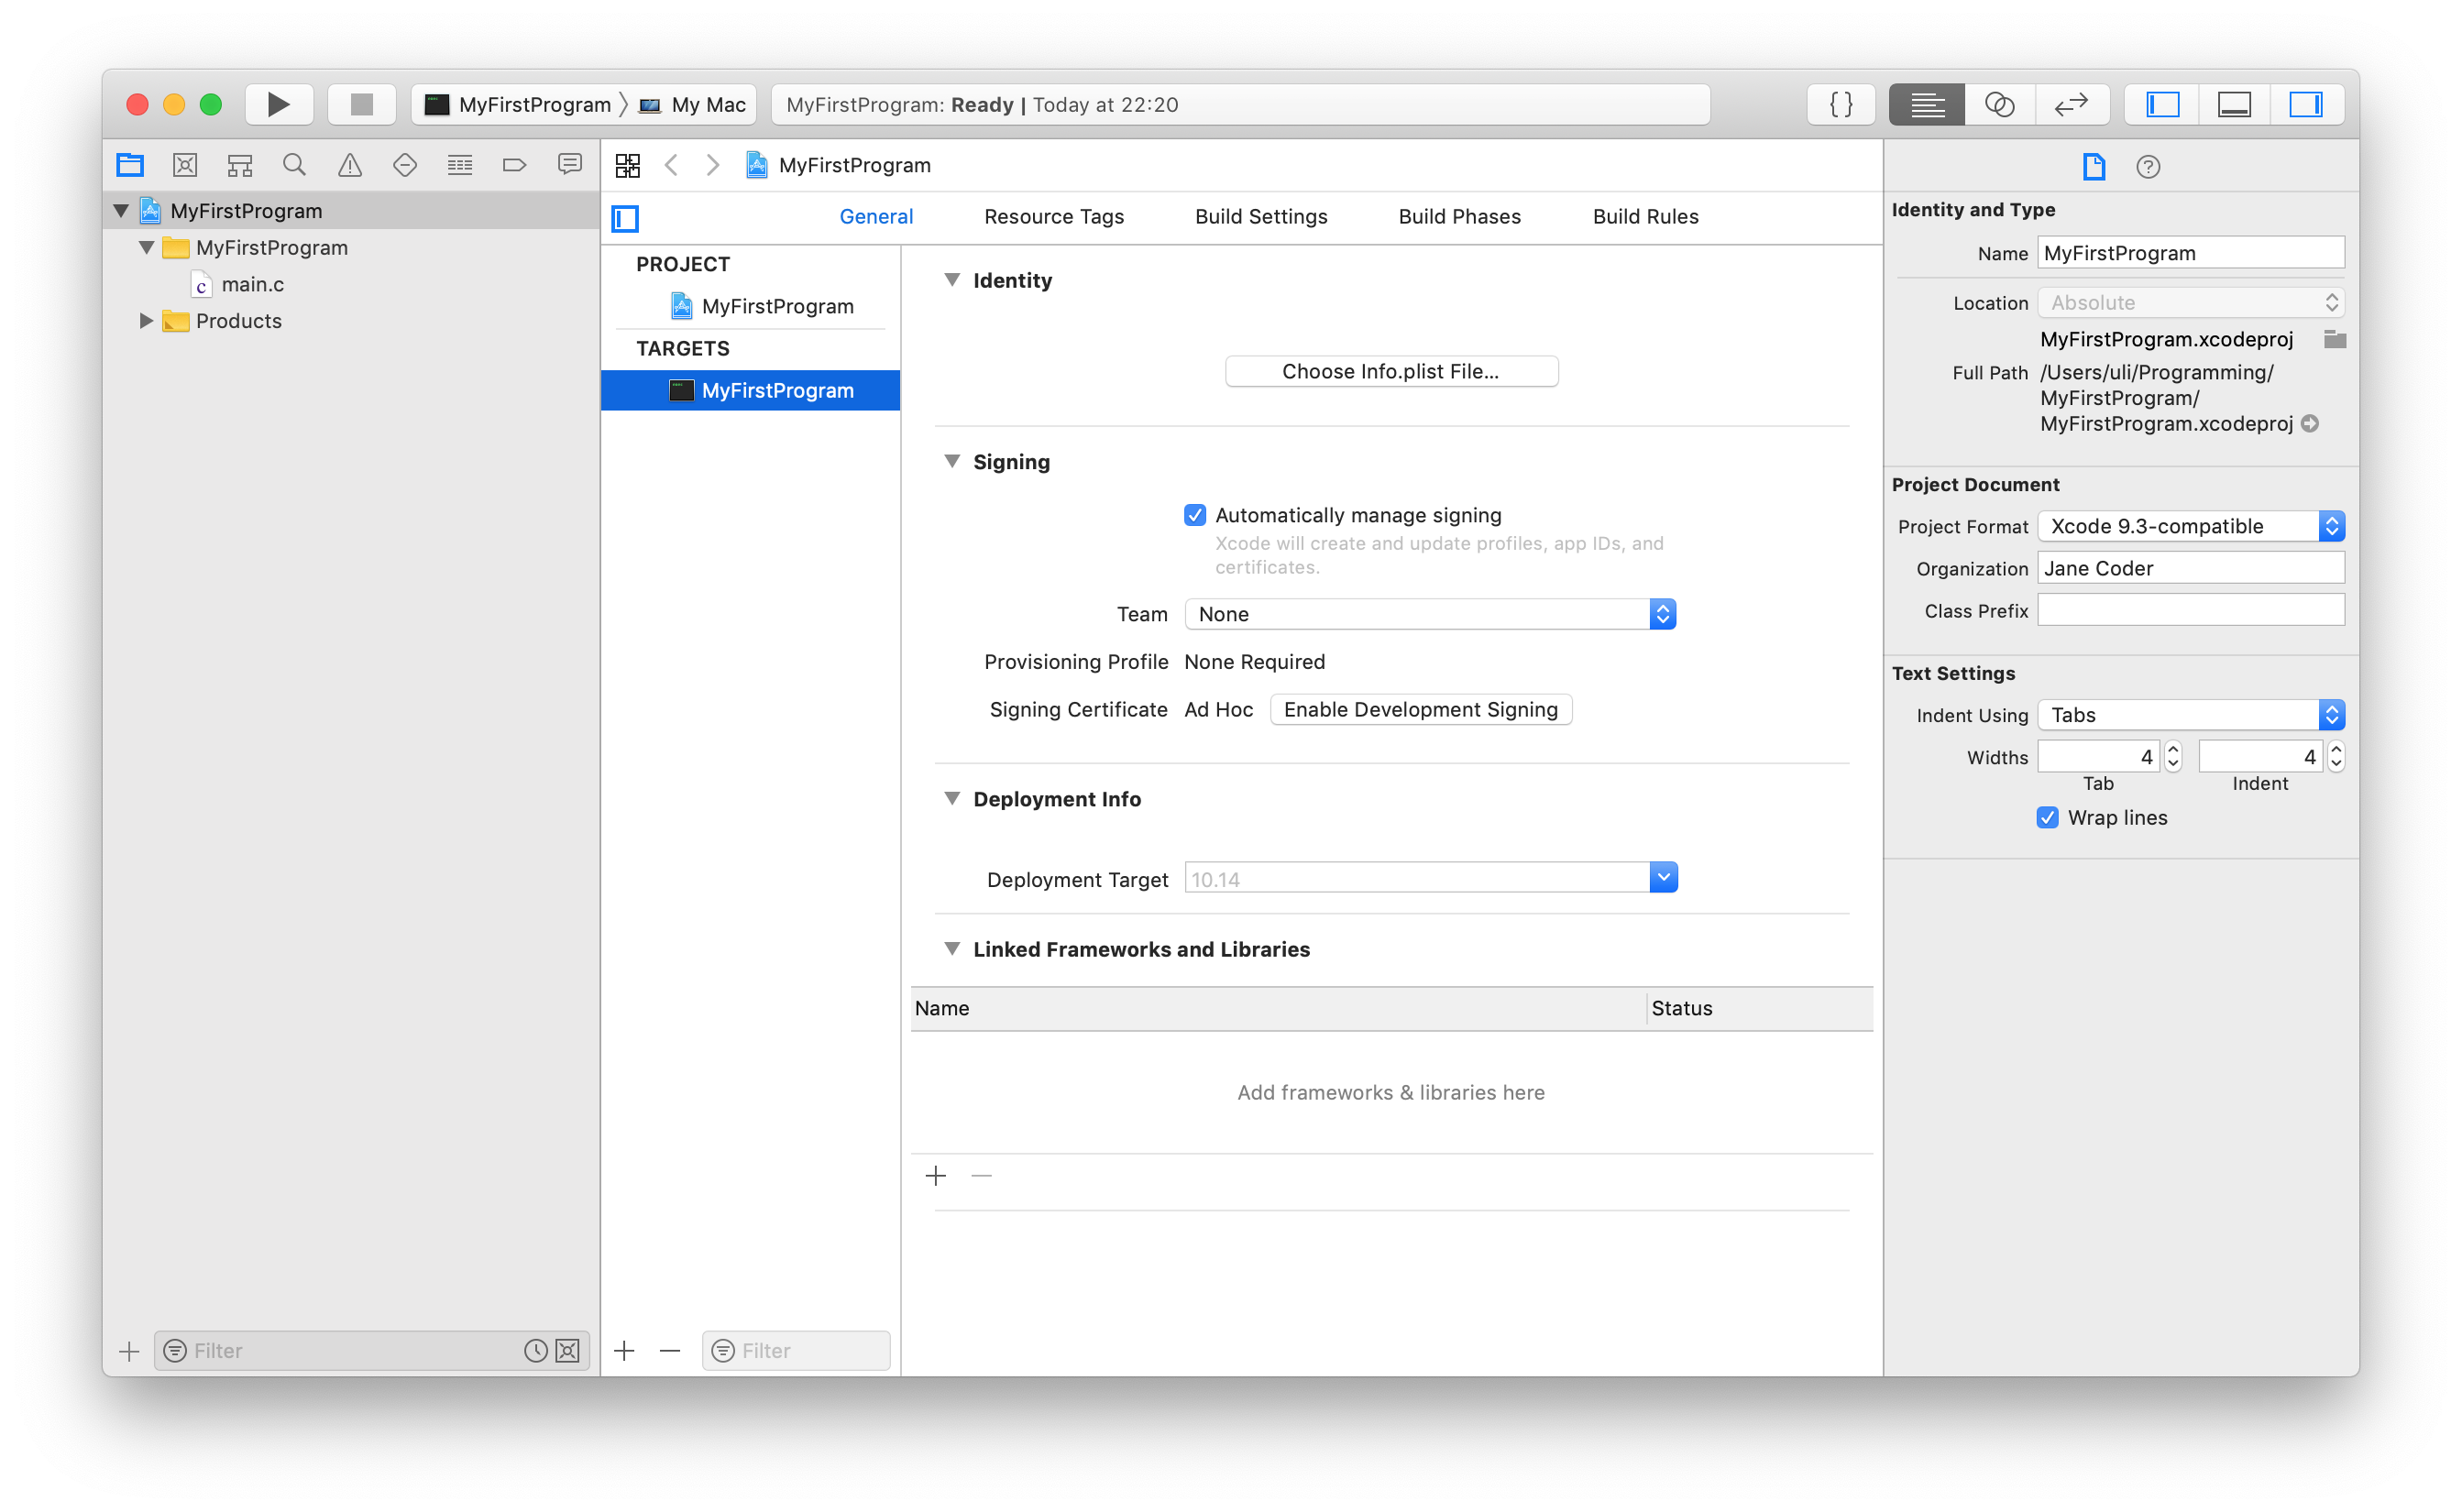
The Project Navigator list contains a lot of stuff, including an icon representing your project, and a few brown folders (which Xcode calls groups). But right now we only care about main.c. This is a text file that Xcode has helpfully created for you to hold your program. Note the file name suffix (or “extension”) .c: Compilers generally use the name suffix to indicate what programming language a program is in. Xcode can work with several programming languages, not just with C.
Now click on main.c. Its contents should show up in the editor as text, where different pieces of text are colored by Xcode to make it easier to tell apart the different parts. Delete the text in this file, and type the following code into the file (don’t worry, I’ll soon explain what this does):
#include <stdio.h>	// Defines printf etc.

int	main( void )
{
	// Write a string of text to the console:
	printf( "Masters of the void." );

	return 0;	// Tell OS everything is OK.
}
Save the file, then click the  button in the upper right of the window. This will show the Debug area at the bottom of the window:
The three buttons in the lower right let you switch between showing only the left area, only the right area, or both, like in the screenshot above. The right part is what we need right now. That is the console area — essentially a simplified Terminal.app that is built into Xcode. Here you will see any text your command-line program writes out, and you will also be able to type in text that your program can receive (more on that later). Now, choose Run from the Product menu. This will run the compiler over the text file and create a program from that. Afterwards, it will immediately start the program so you can see that it works.
Since this is the first time you are running an application in Xcode, you will probably be asked to activate Developer Mode. This is what you need to use the debugger, which we will play with in one of the later chapters, so be sure to click Enable in that window.

If you’re very quick and look at the white bar at the top center of any Xcode window after choosing Run, you’ll see that it is telling you which file it is compiling. Of course, we only have one file, so this isn’t as interesting as when you have a bigger program that you have split up into several files, but for now one file is fine.
Once the program is built and starts, it will write Masters of the void. in bold print into the Console area. Not much of a program, but you now know how to make the computer do something.
Help, it didn’t work!

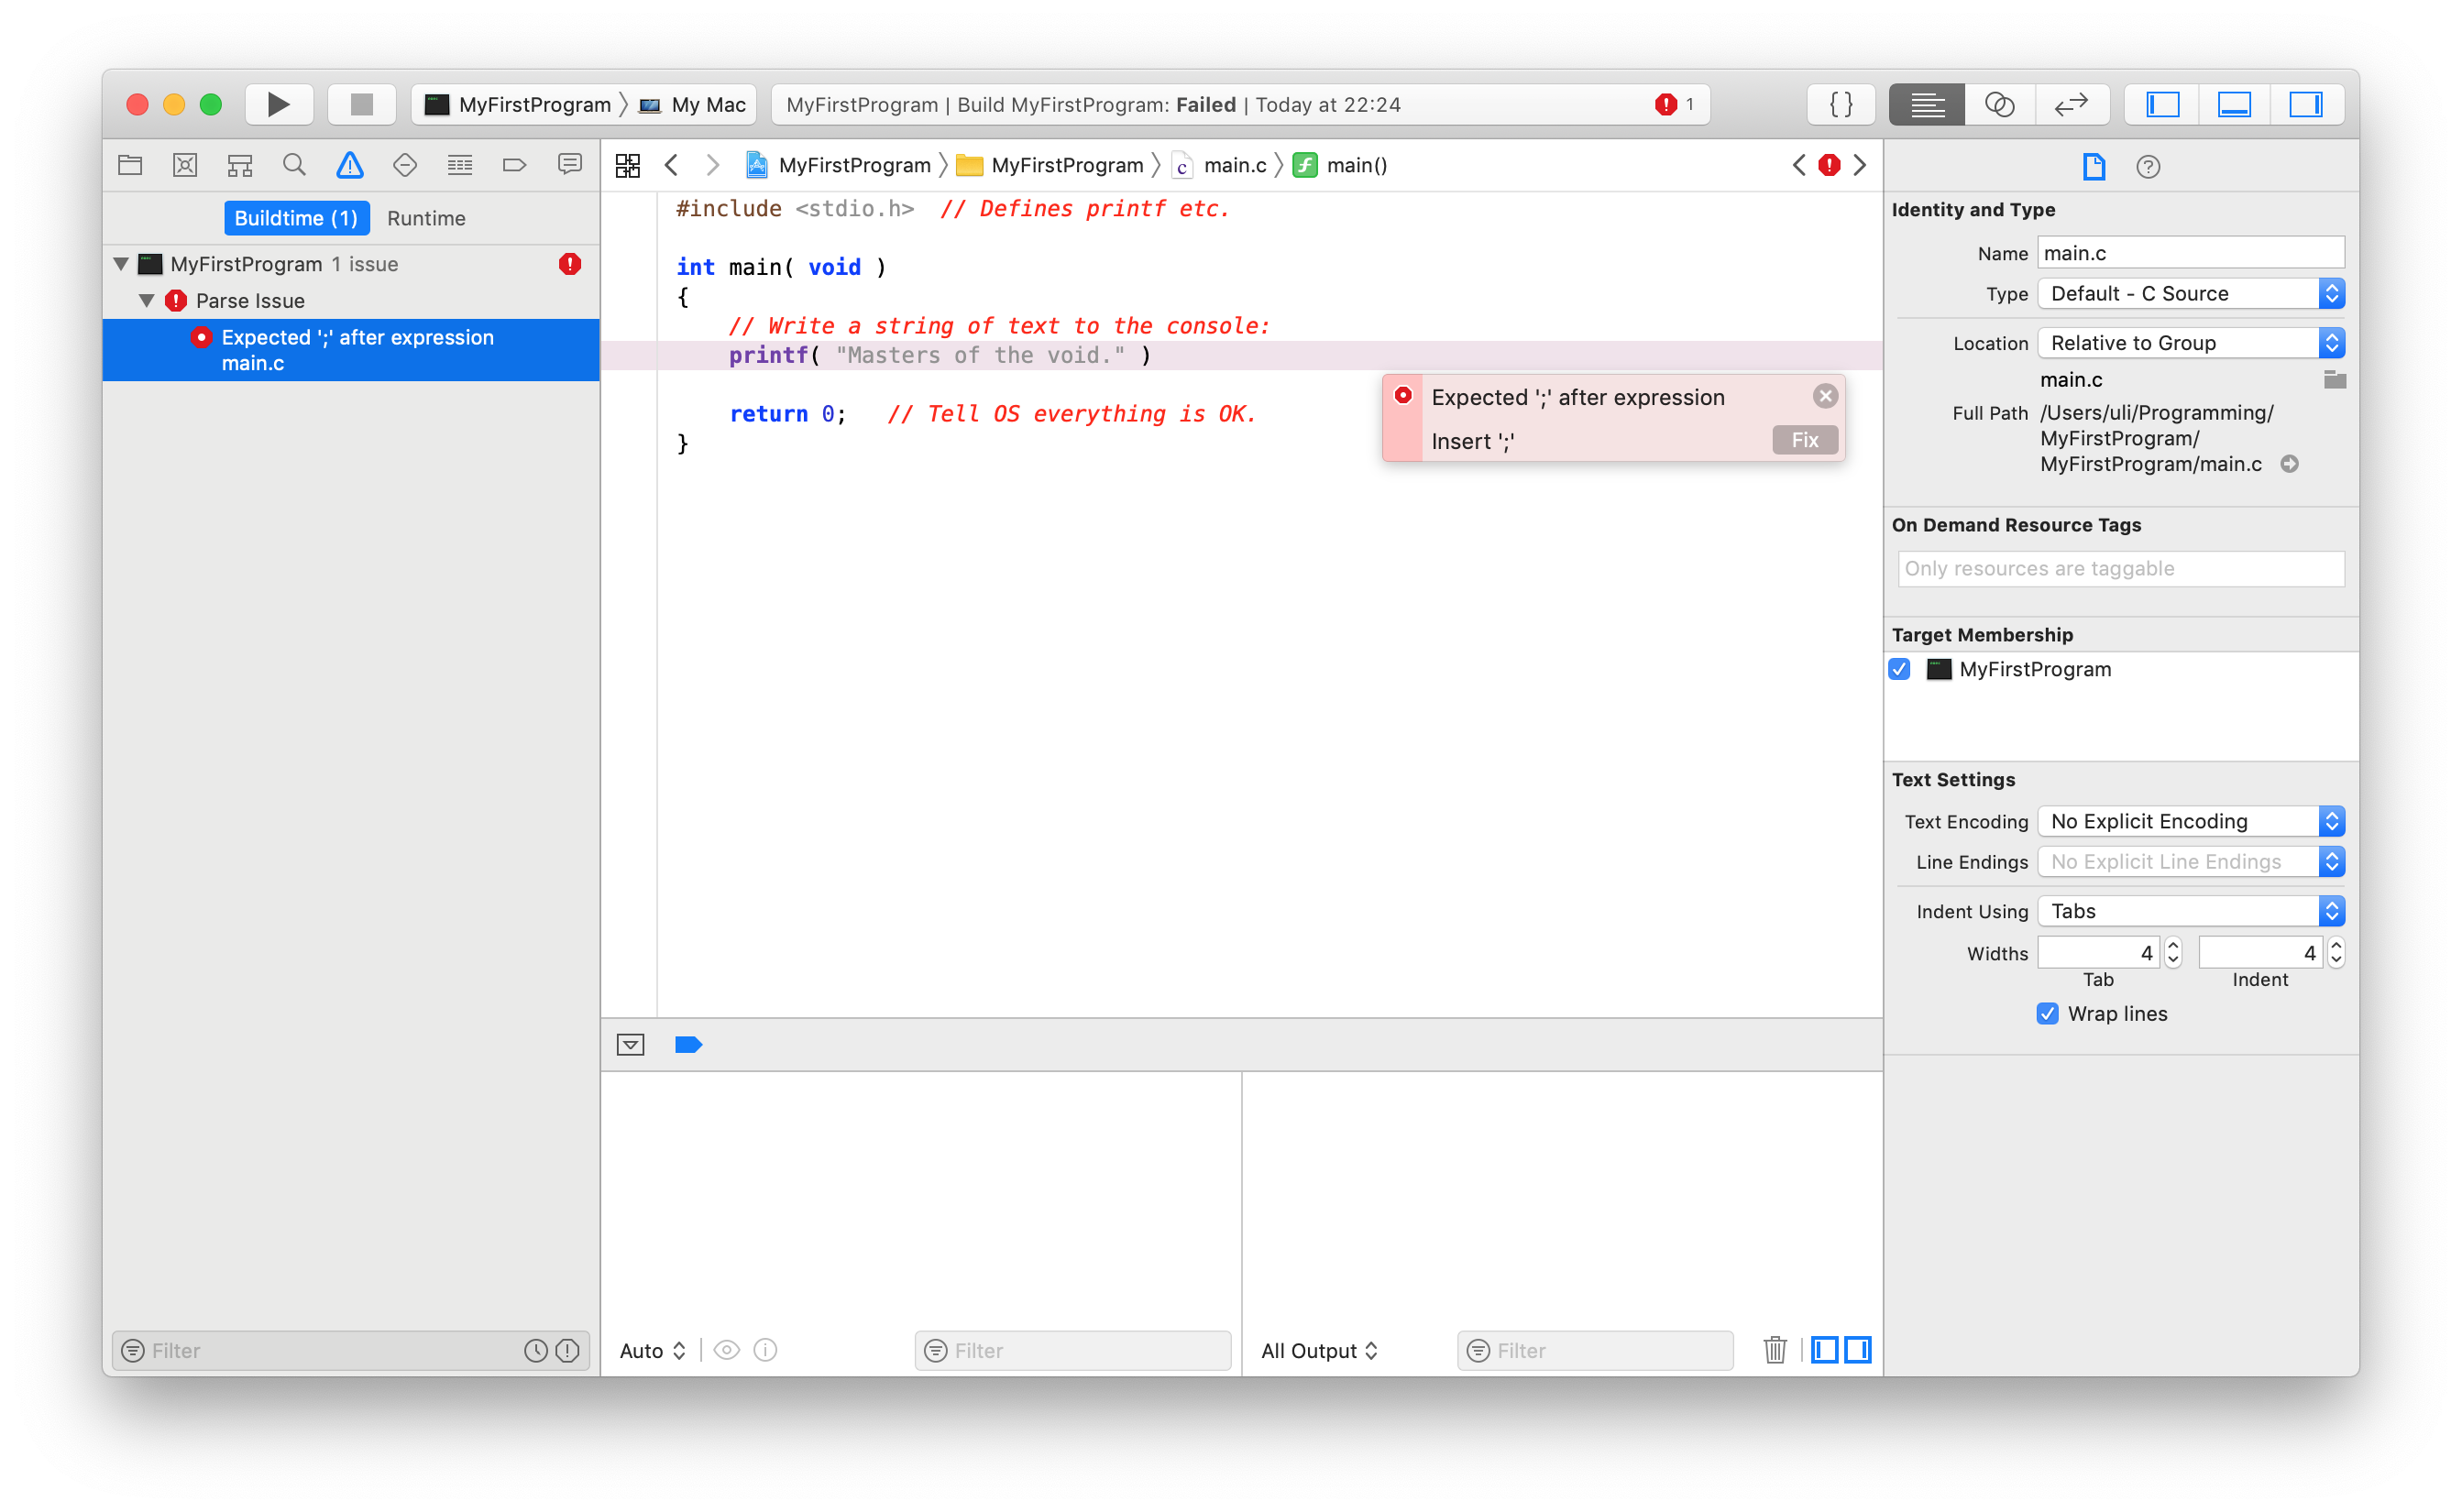
If you are like me, chances are it didn’t work right away. If something goes wrong, the status area at the top of the Xcode window will say Build Failed and show the number of errors next to the red stop sign and you can click the little warning icon above the Project Navigator list to switch from your files to the Issues Navigator (click the small folder icon on the very left to get back to the list of files) to see details about each mistake. Click the first error message to open an editor in the right half of the window that shows you where the error occurred. Edit the text so it matches the example code above and try to Run again. Repeat this until it works.
There are a few things worth noting that may help you find errors:
-
C is case sensitive, that is “Main” and “main” are different words to it. So, make sure you type every character exactly the same as it is written above.
-
When C doesn’t understand something, it will valiantly try to just struggle on until it really can’t make sense of your code. So, it often helps to try to fix errors in order, because many of the later errors will be “misunderstandings” caused by earlier errors. Also, if you can’t find the error on one line, look at the lines above it. Sometimes a mistake is farther up, but C was still able to make sense of the code until at a later point.
-
If one of the error messages doesn’t really make sense, or seems truncated, you can sometimes uncollapse them to show additional information
-
If there still seems to be something missing, you can use the little speech balloon icon to show the Log Navigator instead. This is where Xcode keeps track of your program’s output from all previous runs, as well as of the error messages. The error messages there have much more detail than the ones in the Issue Navigator, but you can’t see them and look at your code at the same time. There are two kinds of entries in the Log Navigator under
MyFirstProgram:Buildlists the error messages that occurred while trying to translate your program text into an actual computer program that a machine can perform, and theDebugentry shows the output from actually running your program, because you’ll usually want to look at that when you are looking for mistakes (“bugs”) that happen while your program is running. -
Xcode will point out errors to you as you type the code (or even on code you haven’t finished typing). You can click these little error boxes in your text to see more of the message, and some errors will even contain a little Fix button that you can use to make Xcode make an attempt at fixing your mistake for you. Note that Xcode does not know what your code is supposed to do, and so will get things wrong. Still, it is worth trying out the Fix button to see if it helps. If a fix doesn’t make sense (or in the case of this tutorial, makes the code look substantially different from the example) you can always choose Undo from the Edit menu to get back to your original code, or you can even repeatedly Undo and Redo a fix to compare before and after.
So, what did I just do?
Let’s switch back to the Project Navigator using the little folder icon in the upper left and look at the main.c file from top to bottom so we understand what we just did:
#include <stdio.h> // Defines printf etc.
This first line means that you want to tell your compiler it should put the contents of some other file here, just as if you had typed its contents there. You signal this using the #include command. In this case, you include the file named stdio.h, which is part of the ANSI C standard library. You can enclose the name either in “<” and “>” or in quotes. The former means it’s a system file (i.e. part of the ANSI C standard library or code provided by Apple), while using quotes tells the compiler it’s one of your own files (we’ll get to making more files of your own later).
Note: ANSI stands for the American National Standards Institute. ANSI C is a standard written down by this group, that tries to provide a common set of rules to which the companies who create C compilers can adhere, ensuring that a program you write on one computer can also be compiled on another. At least in theory.
So what’s a #include good for? Glad you asked. You see, a computer is very complex, and even to get a single character displayed on the screen already involves lots of programming work. However, much of this work has already been done by the programmer(s) that wrote the operating system you’re working with. They wrote dozens and dozens of files, all like our main.c file. These files contain things like printf in the fourth line of our file, which is basically a command that writes text to the screen.
Usually, every programmer who wanted to draw text on the screen would have to do the work to create their own printf. But programmers are a lazy lot, and so they invented #include. Somewhere on your computer, there is a file named stdio.h, which contains all the code needed for printf, and which is essentially the same as the one used by your operating system (if I may say this in such a simplified way). By including this file, you tell the compiler to do the same as if you had copied the contents of that file into your main.c file. You’ll quickly develop a deeper understanding of these include files (or header files, as they’re sometimes called, hence the “.h” suffix) when we get to creating an include file of our own. For now it suffices to know that this #include tells the compiler about printf, which is described below.
Note: By the way, “stdio” is short for “standard input/output”. C was originally designed at a time when file names could only be 8 characters in length, so you’ll find a lot of abbreviations like this.
The two slashes behind the file’s name indicate that the compiler should ignore anything on this line following the two slashes. This is called a comment. Use comments often and always to indicate why a line does what it does, even if it is obvious to you now, since it will make it easier for you if you have to get back to your program a year later. Trust me on this one, it may seem pointless busywork at first, but I’ve had to throw away a couple of good programs I’d spent lots of work on because they were simply unreadable to me after a vacation. And most people do not have the discipline to go back to a program and add in all the comments after they’ve finished the code.
I usually end comments with a full stop (“.”) when they describe the line they’re on, while I use a colon (“:”) at the end of comments that describe the line(s) below them. I hope that helps you read the comments in these samples better.
int	main( void )
{
	...
}
The following lines after our #include define a routine (a named collection of commands), or in C terms a function. The first word, int, tells the compiler about the return value of this function. If you still remember maths class, if you have an equation
y = f(x)
y is the return value. But in C you don’t give the return value a name like y, you only tell the compiler what kind of data type it is (“what type it has”). In this case, main() returns an int, which is short for integer and means a positive or negative whole number (that is, no fractions). The next word is the name of the function, main. main is a special function, it is the first one called by your computer when it runs (executes) your program. It’s the starting point of your program, and when main() has finished, your program is finished.
The “(” and “)” following main is where you would usually indicate the inputs to your function, or parameters (if it received parameters, like our example “f” above takes “x” as a parameter, it would be between the brackets, more on that later). Since our program takes no parameters, we write void there, which means “nothing”. Then follows the body”* of this function, which contains the commands that make up this function and is enclosed in “{” and “}”. Think of the function body as something like a “to-do” list. The computer will simply read this list, and do each item on the list, in order.
printf(
"Masters of the void."
);
The first of the two items on our list, the printf-line, is what does the actual output. As you may remember from above, printf() is a function, just like main. It does not provide any interesting return value, but it takes one parameter, the text to write to the screen, which is always enclosed in quotes. Like all commands inside a function, this command is finished with a semicolon. This is necessary since C allows a command to stretch across several lines. That is:
printf(
"Masters of the void."
);
and
printf
(
"Masters of the void." )
;
are the same to C. It also doesn’t care how many spaces you put in there, or how many tabs (though it does care if it’s between quotes). So, go crazy and insert spaces wherever you feel you need them to improve readability, as long as the spaces or tabs or line breaks aren’t in the middle of a word.
So, to summarize, this line simply moves “Masters of the void.” onto your screen. The last line of the function’s body,
return 0; // Tell OS everything is OK.
specifies the return value of the function and exits from the function. It should always return the number zero from main(). On some operating systems, if you return something else than zero from main() they think an error has occurred and output an error message.
You now know about main(), about #include statements, about comments, and have a vague idea of return values. Not very dramatic, eh? Stay tuned, the second lesson will introduce you to more, and give you a second opportunity to understand all this using a little movie.
| Previous | Next |