
Book 10: Organizing your Code
| Previous | Next |
I lied to you … well, sort of
You may remember that, right in the first chapter, I told you that stdio.h contained functions like printf(). That wasn’t entirely accurate. The thing is, if every application contained the code to printf() and the scores of other functions it uses that belong to the operating system, you’d not only have huge applications that all contained the same code, you’d also have a huge problem with every system update, because every time the system changed, you would have to recompile all your applications with the new versions of the system functions.
Luckily, it isn’t like that. Instead, what happens is that the operating system contains lots of files called libraries. You may have heard of some special libraries called frameworks or kits on macOS X already. We won’t learn how to create real libraries like that in this tutorial, but it helps to know that the libraries contain the functions as already-compiled machine code. When your application starts up, the system adds them to your program in RAM. The .h files are simply a sort of a “table of contents” for such libraries.
Definitions and Declarations
So far in this tutorial, whenever we wrote code, we wrote definitions. A definition is the actual function, the real McCoy. To go with a definition, there are declarations. Declarations are like a promise, a contract. You write a declaration to tell GCC: “You might not see this function here, but trust me, you’ll have it at runtime, and it will look like this”. You’ve already seen declarations: When I explained how malloc() and free() work, I wrote:
void* malloc( int size );
That is a declaration (sometimes also called a forward declaration or a prototype) for the malloc() function. It looks pretty much like the first line of our function definition, just that it has a semicolon indicating that it ends where the definition would have the curly brackets containing the actual code.
Remember how we had to make sure that our DoNewCommand() and DoListCommand() functions were before main(), so main() could call it? If you put a declaration above main(), that will solve the problem, too. While this may not sound like a big deal, there are cases where two functions each call each other under certain circumstances, and therefore you can’t put one above the other. With a declaration, the order doesn’t matter anymore.
To save you from worrying about the order of your functions in the file, it’s a good idea to just put forward declarations for each of your functions at the top of the file.
Since a declaration for a function doesn’t contain any code, you can technically leave away the parameter variable names after the parameter types, i.e. write void* malloc(int);.
I’m mentioning that here because you may see that in other people’s code, but my recommendation is to leave the variable names in there. It makes it easier to read and understand the declarations, and if you have four int parameters it makes it easier to tell apart whether the horizontal or vertical coordinate comes first, if you give them comprehensible names.
Also, you can simply write the definition, then copy the first line to the top where your other declarations are, without having to change anything, and if you decide to add a parameter, you can just add it to the declaration and then copy it down to the definition without having to add the variable names you deleted back in.
Distributing your code across multiple files
I occasionally mentioned that placing your code in separate functions makes it easier to reuse those functions. Now, this may be true on a small scale in our previous one-file programs, but ideally, if you wrote code to handle dynamic arrays for your records database, you’d be able to use the same functions in your book database, and who knows, maybe even in your program that keeps a log of your work hours.
To do that, you’d not want everything in one huge file, but rather in separate files, grouped by functionality. But how would you do that? Well, the start would be easy: You’d create a new file with a .c suffix, and put the right function definitions and their prototypes in there.
We already know that #include lets you paste another file into yours. So, you could just write #include "MyArrays.c" into your main file and you’d have the array commands in your MyArrays.c “library” available. But if you do that for a while, you’ll have libraries that make use of libraries. When you include both libraries in a third file, and both libraries include your array library, you’ll get two copies of the array functions, and the compiler will complain, because it will be unclear which one to use. Ouch. So, we really need to get smarter.
And smarter means declarations. As long as the declarations match, the compiler doesn’t have a problem with several of them. So, take the top of your .c files (their “headers”) and put them in their own files. By convention, a header full of declarations gets the same name as the corresponding source code file with the definitions, but with a .h suffix. Makes it easier to tell what header and what source file to compile. Now, #include the .h file from your main.c file and from your libraries themselves.
If you tried to compile this, you’d notice that you’ll get error messages because the main file has access to the declarations, but there’s no definition that Xcode knows about. We can’t solve this via #include, so what do we do? Well, we have to tell Xcode about MyArrays.c.
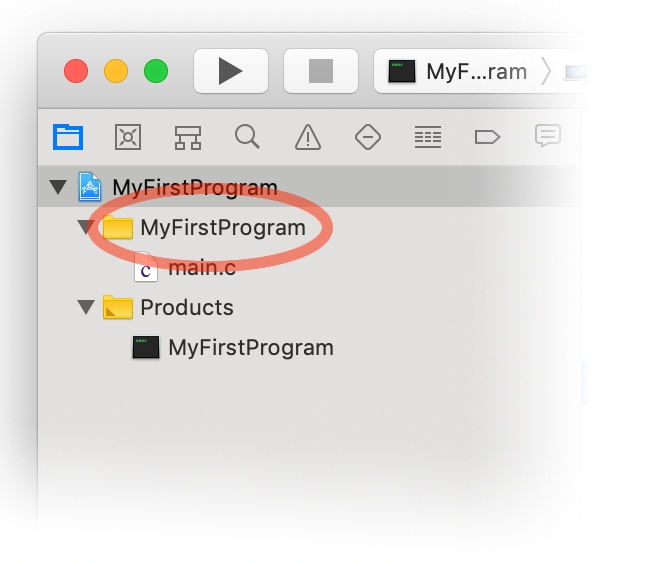
You do this by taking your .c file and dragging it into Xcode’s Project Navigator list, into the little brown folder (or “group”) where your main.c file resides (usually this is named the same as your project, but for short I’ll call it the Sources group). Xcode goes through this list and compiles each file separately, and then glues them into a single application (the technical term for that last step is linking).
You see, Xcode is really not a compiler by itself. Instead, it installs a couple of command-line tools, the CLang C compiler (also known as LLVM), and calls upon that to do the actual compilation. If you add main.c and MyArrays.c to the Sources group, Xcode will essentially call clang twice, once to compile main.c, and once to compile MyArrays.c (Each as a separate “compilation unit” or “module”, as some of the more geeky programmers like to call them). So, neither one will know of the commands defined by the other, which is why you need to #include the header in all files that use them, or you will get an error message.
So, why don’t we have to add stdio.c to our project when we want to use printf()? Well, since stdio is a very common library without which you couldn’t get much done in C, clang knows about it and will automatically add it. However, for other libraries you will have to explicitly tell it what library contains the code. All the C standard library commands, for example, are in a library called stdclib, so what you’d do would be to find the library file in your system folder, and add it to your project, usually in a new brown folder called something like Linked Libraries.
Compilation units may sound a silly idea at first. Why doesn’t clang always use all the knowledge available to it? Well, the reason is that it’s mainly a performance trade-off. Pasting all those headers and source files together and then compiling the whole kit’n kaboodle each time can take quite some time for larger projects. By keeping the number of includes low, clang will have to compile fewer lines, and each file will compile faster.
Working with a Project file
While we’re on the topic of adding files to a project, let’s go into more detail on project files. In general, you’d put files into the Sources group, but you can also add your own brown-folder groups and put stuff in there. I recommend you also put your header files (.h suffix) in here, because then you can use Xcode’s “Find in Project” menu item (“Find” menu) to search through your entire project. Xcode will ignore .h files when looking for files to compile, so this won’t relieve you of having to #include them, but it makes it easier to navigate your code.
In general, Xcode doesn’t care too much about what group stuff goes in as long as it’s a group under the blue project icon. It will use the file suffix to determine what to do with a file. If it doesn’t know what to do with a particular file, it will in general treat it as a “resource” used by your application and copy it next to your application. You can create your own groups and sub-groups to collect together source files.
There’s is. however the special “Products” group that you best leave untouched that contains the file that is created when you build your project. This is handy because you can have one project create several programs, by creating several targets in your project. One target could build a library, and then you can drag the library icon for it from the “Products” group to the “Frameworks and Libraries” entry of your project’s settings to have the other target, which could be an application, use it.
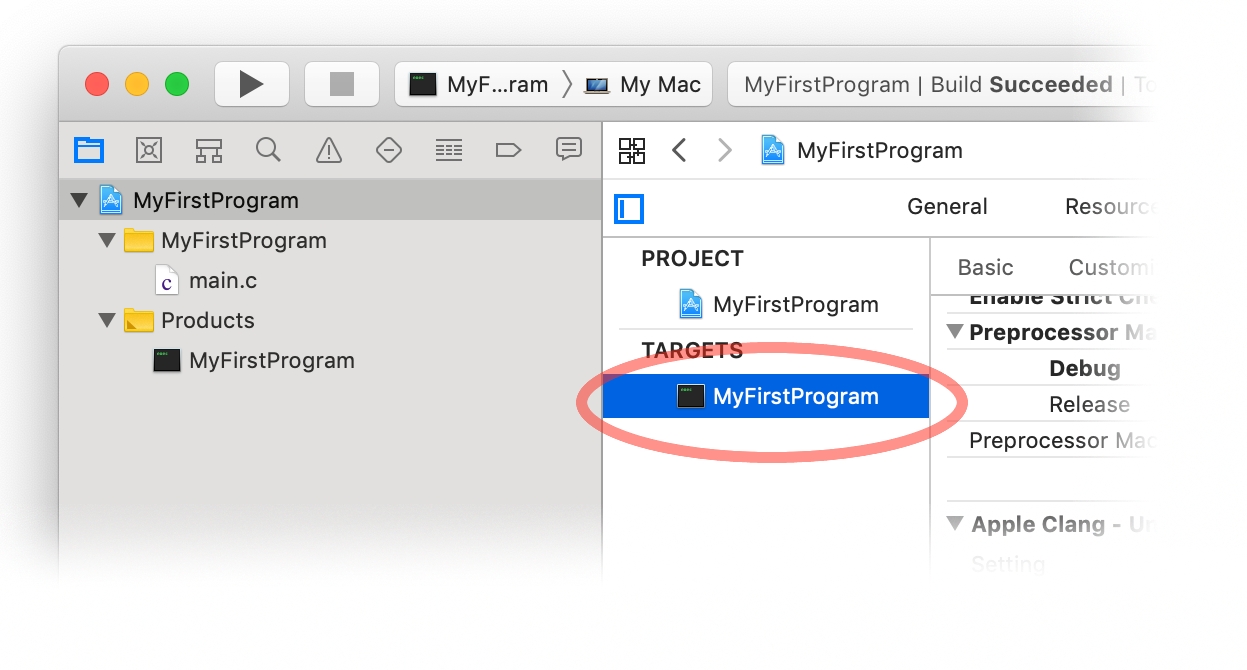
The aforementioned “Targets” are listed in your project. Just click the blue project icon at the top of the window, and then click an entry under “Targets” to its right to see all sorts of settings. For applications with a graphical user interface and plug-ins, you can also specify a unique “bundle identifier” for your program here, so it can claim file icons and can be easily found on the hard disk by other applications. You can change its name, or tell the compiler to watch for potential errors and warn you about them.
The “Scheme” popup menu at the top of the window fulfills a similar purpose for your actual output files. Here you can tell Xcode what special things you want it to do when it runs your application, like give it a particular command-line parameter, or set a Unix “environment variable” or whatever you wish. To do that, click the left half of the popup menu and choose “Edit Scheme”. This is separate from the “Products”, because there are some advanced things you can do with targets that will not create an executable file that Xcode can run.
| Previous | Next |